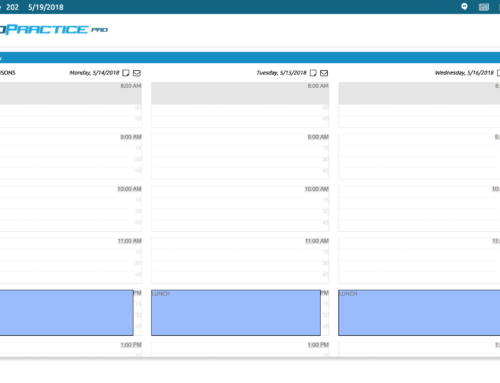
Communications Window
The Communications Window allows you to keep in touch with your patients. There are no options in the settings for the communications window, so simply select Communications in the list to show the communications window.
The Communications Window is divided into three sections. The first section contains the large buttons along the top. These buttons control where and how the communications are sent or displayed when you press the send button.
Emails are emailed to the patient using the email address in the patient’s data file, as long as the “Allow emails” selection is set to “True.”
Letters open up a new window from which you can print the communication. Each letter is separated by a page break in the new window ensuring that each letter is printed on a separate page.
Finally Texts are sent to the patients cell phone provided they have included their cell number, carrier, and “Allow texts” selection is set to “True.”.
The next section is the action button section this is displayed just below the Email, Letter and Text buttons. The actions will change based on what is being displayed.
The final section is the data display section. This will contain the list of communications or the communications detail.
The default display is the Communication list on the left and the Patient list on the right.
To create a new communication, simply press the “New” button. The new communication will be highlighted in the list on the left hand side.
To edit the communication, simply select the communication item in the list and then click the “Edit” button. This brings up a text box with the raw html text of the letter, email or text. To edit the communication in a user-friendly way, click the “Editor” button. This brings up an editor to be able to style the communication the way you need it.
Clicking “Save” here will save the item. Clicking Back will take you back to the list without saving.
You can also preview what the communication looks like by pressing the “Preview” button.
The “Send” button will send an email, open a new window for letters or send a text depending on which one is clicked in the first section. You must select at least one patient from the Patient List on the right in order for the send button to work.
Finally, there is a “Delete” button for the communications. Simply select the item and click the “Delete” button. There will be a confirmation box that pops up to ensure this is the action you want to take.
The Reports Window is linked directly to Communications Window. When you click the email, letter or text link at the bottom of a report, it will automatically select the patients for you in the Patient list on the right.
You can also click the email, letter or text button on the Patient Data Window to send an individual patient communication.
Communication with your patients can be extremely helpful for both their health, and for the health of your business. Check out this example. We’ve created a patient report in the Report Window that shows us the patients that have been to the office in the last 90 days. When we select the “Email” button at the bottom of the page, it automatically selects these patients in the communications section.
We’ve created an email that highlights our newest service, cupping. This email takes our patient’s to a new blog post on our site that informs our patient of the benefits of cupping. At the bottom, we’ve set up a link to the patient portal that allows our patients to set up an appointment for cupping.
Now, you can start to see the power of ChiroPractice Pro’s Communication Window. Its incredibly powerful and can start to develop your patient’s knowledge, your practices communication, and your businesses bottom line.
Send us a help request if you need more help to implementing the Communication Window in your practice.
Thank you for joining us for another Training Module with ChiroPractice Pro.