Billing Insurance Part III: Submitting A Claim
Next Video, Billing Insurance Part IV: Printing A Claim
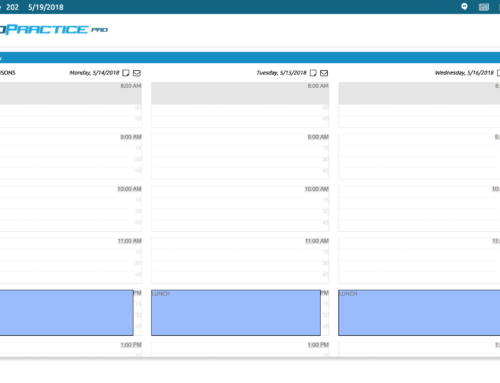
Once charges with diagnosis codes and providers are in the system, it’s really easy to push that claim to Optum. We do that from the billing ledger window.
Use the filter buttons to isolate the date range and patients that you need to bill as well as filtering only the charges.
Click the Bill check box to indicate the line items that you want to send and then click the Bill Insurance button in the Action section.
When you do this new window will open with our 5010 claim form. This form gives you 4 steps to send the claim
First check to make sure the insurance company is correct for this patient.
Second push the Claim check “Check” button. This displays a lot of the most common claim items and will alert you if anything is not correct. Things with a green check should be ok, and things with a yellow caution sign may need your attention.
Some things that show as a caution may not be necessary, but it will depend on the insurance company and the claim.
Click the “Show” button to give you a list of not so common claim items with a check button next to the item. When you click the button, it will open the correct claim tab for review.
The final step is clicking the “Send” button. This sends the claim to the clearing house and you will get immediate feedback on whether this claim was accepted.
There are options for over 2000 items on each claim. Most are not used for billing but they are available. Each of these items have been categorized into 8 tabs located under the Send button.
Clicking these tabs will display all the detail of the claim. In some unique cases you may have to go into these tabs to adjust or add information for the claim. When you change the information on the tabs, it only changes it for this particular claim and does not save it for subsequent claims.
Next we’ll talk about printing claims.